Introduction
This guide explains how to get started with, configure, back up, migrate, and review logs for an eramba SaaS deployment. It applies whether you are starting from zero or importing an existing on premises
What This Guide Covers
This guide supports the following common scenarios:
- Understanding how the hosted SaaS service works.
- Completing the first login and preparing the Admin account.
- Configuring time zone, branding, and languages or translations after login.
- Allowlisting eramba's outbound email so notifications are delivered.
- Identifying eramba's outgoing IP addresses for LDAP or REST API connectivity.
- Backing up and restoring the database and uploaded files.
- Migrating between Community and Enterprise, between servers, or from on premises to SaaS.
- Reviewing activity, login, and application logs.
The SaaS Service
eramba is hosted for you on systems in Europe or the USA. eramba takes care of daily backups and of upgrading your instance to the latest version as soon as it is released.
eramba sends email based on default notifications and any additional notifications you configure. All of these messages come from no-reply@cloud.eramba.org.
Make sure this address is allowed on your mail servers so notifications are not blocked or filtered.
Networking
If you use LDAP authentication or create REST API webhooks in eramba, The IP addresses we'll be using for these connections are the following:
EU SaaS:
- 3.75.4.24
- 3.126.58.157
- 63.177.146.63
US SaaS:
- 54.211.234.66
- 32.195.165.120
- 3.218.189.224
Getting Started
1. First Login
Open the URL of your eramba SaaS instance in a browser. Select Unlock power of GRC and provide:
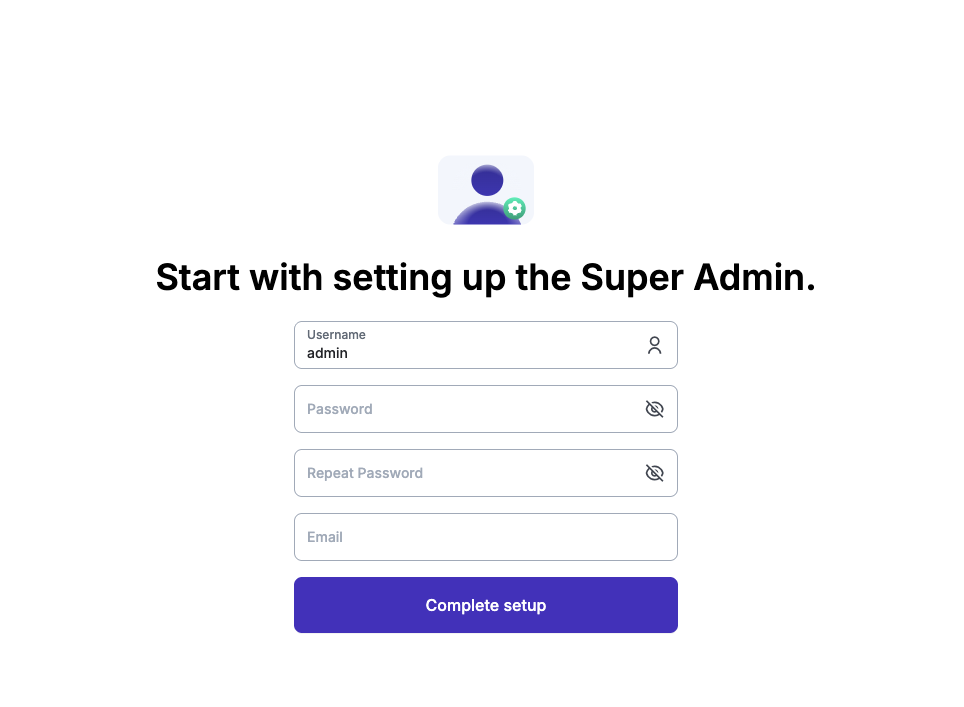
- Admin email.
- Password.
Keep in mind that each account requires a unique email address, so if you use your personal email here you will not be able to use it for another account. This account is intended to work as a break glass account.
2. Time Zone and Currency
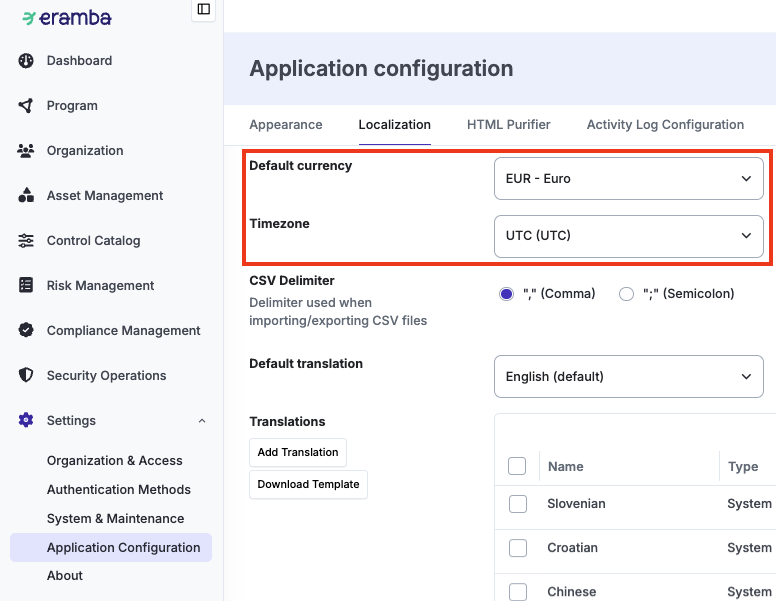
Navigate to Settings > Application Configuration > Localization and configure the correct time zone and currency.
3. Languages and Translations
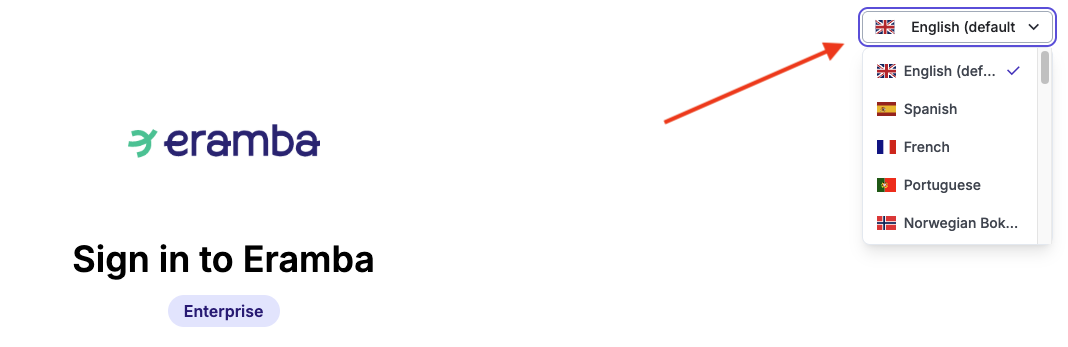
English is the base language, however eramba already includes a wide variety of built in languages. Users can select their preferred language from the dropdown in the top right corner of the login form.
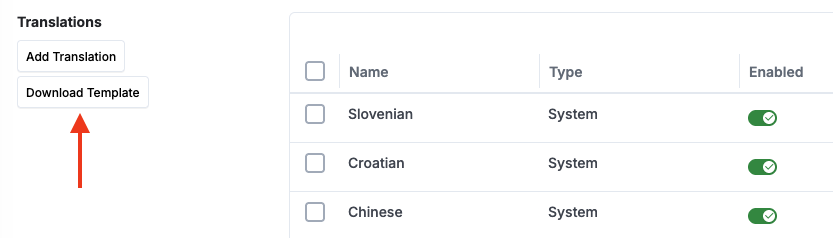
If you would like to create a custom language or translation, eramba supports localization through POT and PO files. Download the POT template from Settings > Application Configuration > Localization, translate its strings using a PO editor such as Poedit, then upload and activate the resulting PO file.
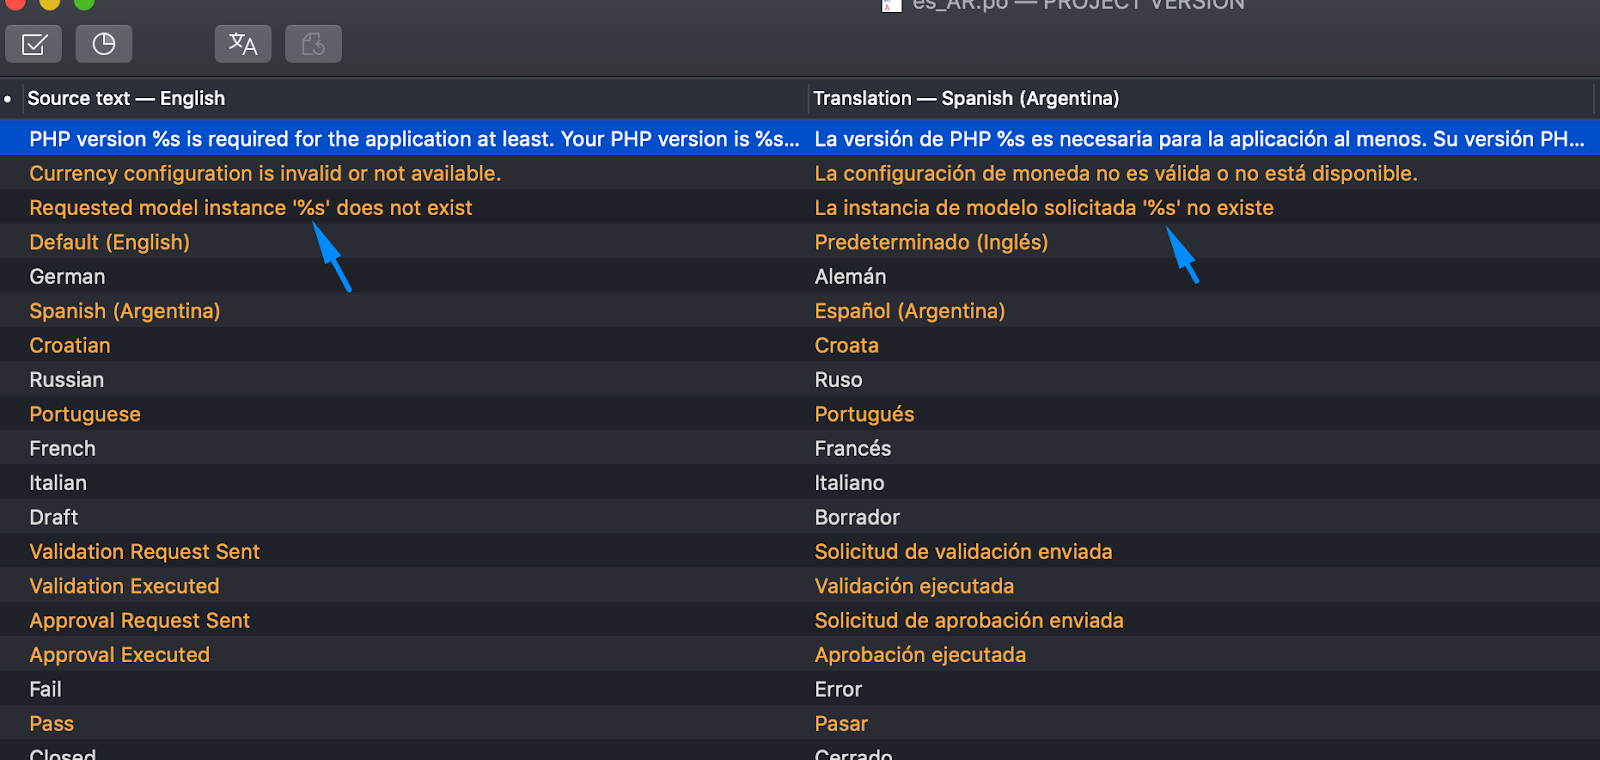
Keep in mind that special variables embedded in source strings, such as %s, should never be translated.
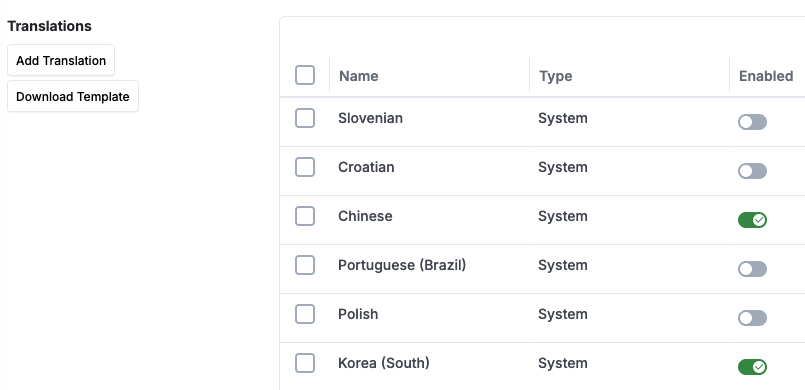
Built in translations can also be hidden from the login page at any time by toggling the Enabled slider.
When a new eramba release is published, new or updated strings may be introduced. To keep your translation current, merge the latest POT template into your existing PO file using your PO editor, then edit the translation entry in eramba and upload the revised file.
4. Custom Logo
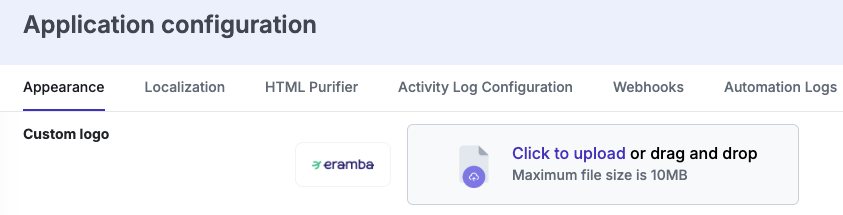
Navigate to Settings > Application Configuration > Custom Logo and replace the default logo with your organization's own logo. We recommend using an image with a transparent background.
Backup & Restore
Backing Up the Database and Attachments
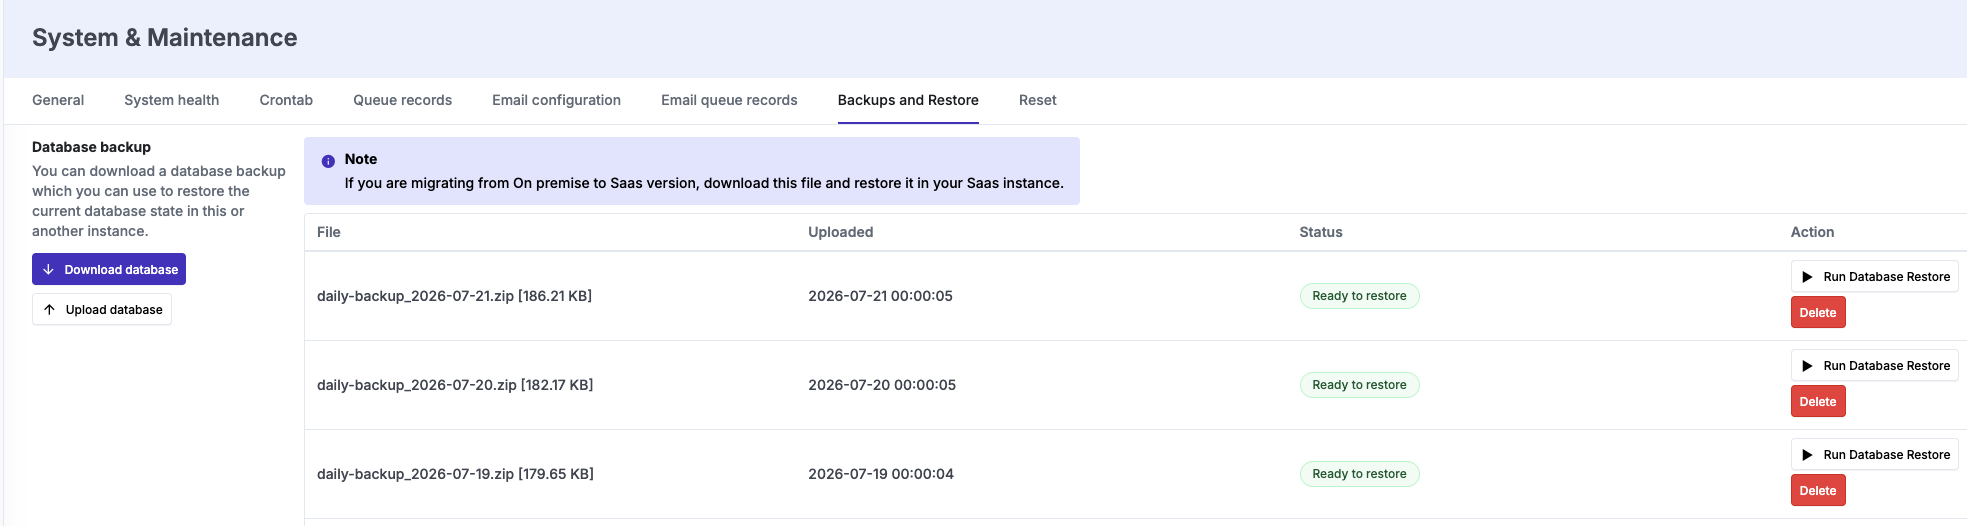
eramba takes infrastructure backups every day. On demand backups can also be generated at any time from Settings > System & Maintenance > Backup & Restore.
Select Download Database to obtain a complete database dump as a zipped SQL file, and Download Files to obtain all uploaded attachments.

Restoring a Backup
Backups can be imported into a newly installed system that contains no existing data. It is important that the source and target application versions are identical, as the database schema must match for the import to work correctly.
When importing a backup, the entire database on the target system is completely wiped and replaced with the contents of the backup being imported. This means that all users, configuration settings, and the license will be overwritten to exactly match those from the backup.
Any existing data on the target system will be lost upon import. The same applies to the license: if the target system has an active license and the backup being imported contains a different one, it will be replaced. If the backup carries a different license, make sure to deactivate the existing license before importing the backup.
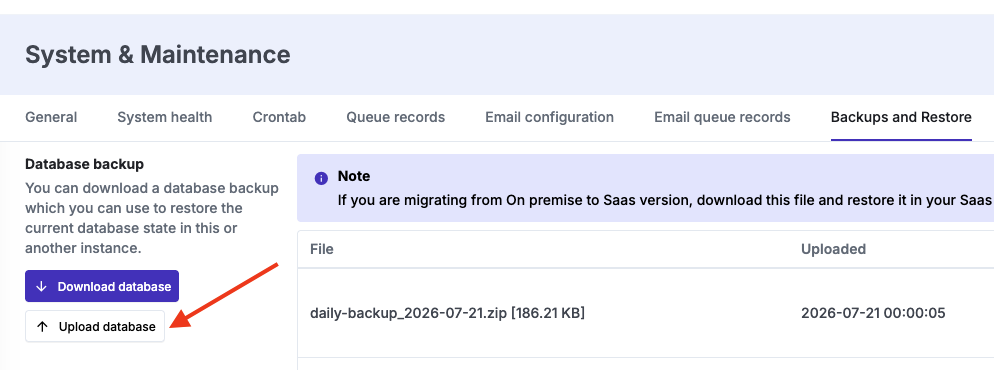
To import a backup, navigate to Settings > System & Maintenance > Backup & Restore.
Migration
Migrating On Premises (Community/Enterprise) to SaaS
- If the SaaS instance has already been used and contains data, reset its database under Settings > System & Maintenance > Reset > Reset Database before importing.
- Ensure you have Admin credentials for both the on premises and SaaS instances.
- Update the on premises instance to the latest version and confirm it matches the SaaS instance version.
- Export the database and files from the on premises instance.
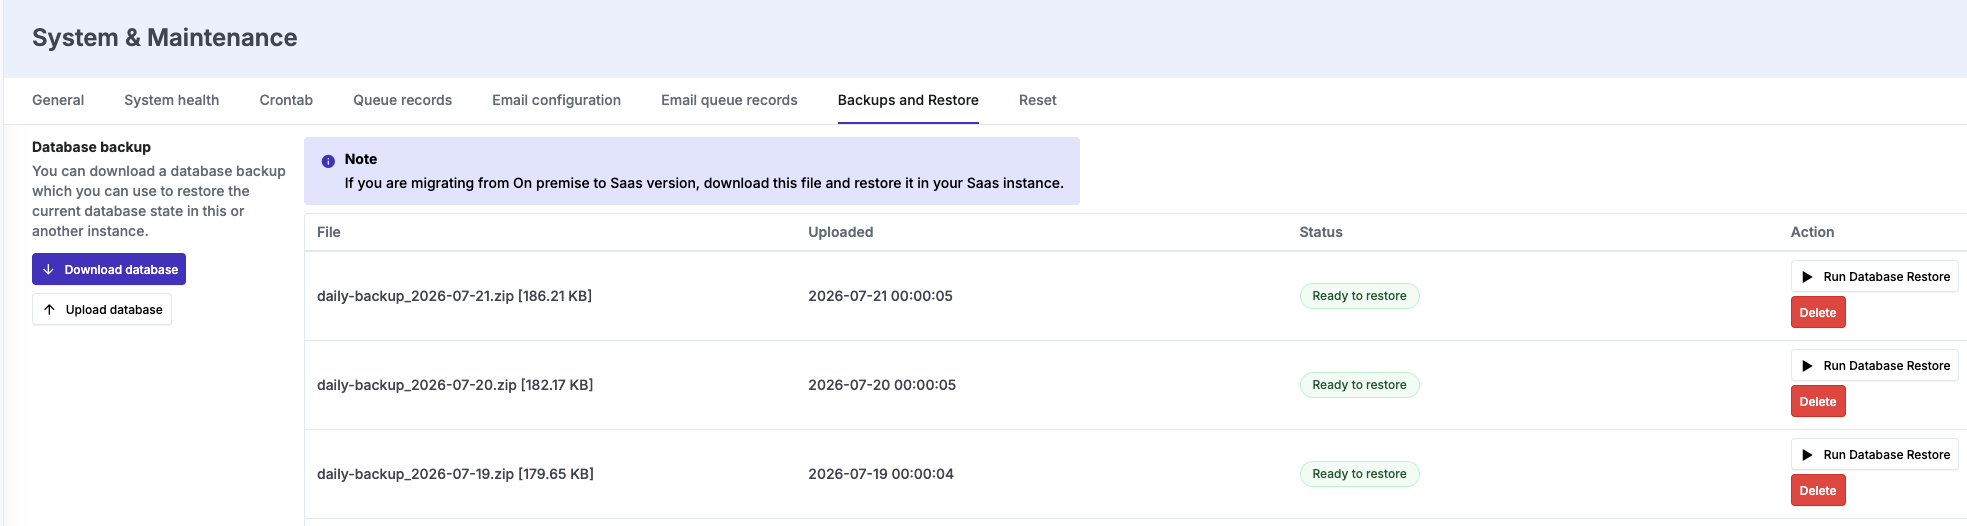
- Import the on premises database and restore it
- Import the on premises files and restore them.
After migration, keep the following in mind:
- Email notifications will be sent from eramba's SaaS mail servers using no-reply@eramba.org. Previous email settings can no longer be used.
- If users authenticate through LDAP, SAML, or Google OAuth, update the provider configuration to use the new SaaS instance URL.
- Account Review scripts can no longer run on the same filesystem as eramba. Use the eramba APIs to upload feeds or use automations.
Logs & Diagnostic
Report a Bug/Issue
If you are experiencing an issue or bug with the eramba software (a button not working or an error appearing when clicking somewhere), please reach out to support@eramba.org. Send us an email with a detailed explanation of what is happening, including any relevant steps to reproduce the issue. The more detail you provide, the easier it will be for us to help you!
Activity Logs
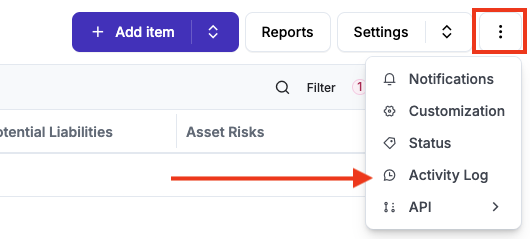
Every change to an item is recorded in the database and can be accessed through the interface.
Login Logs
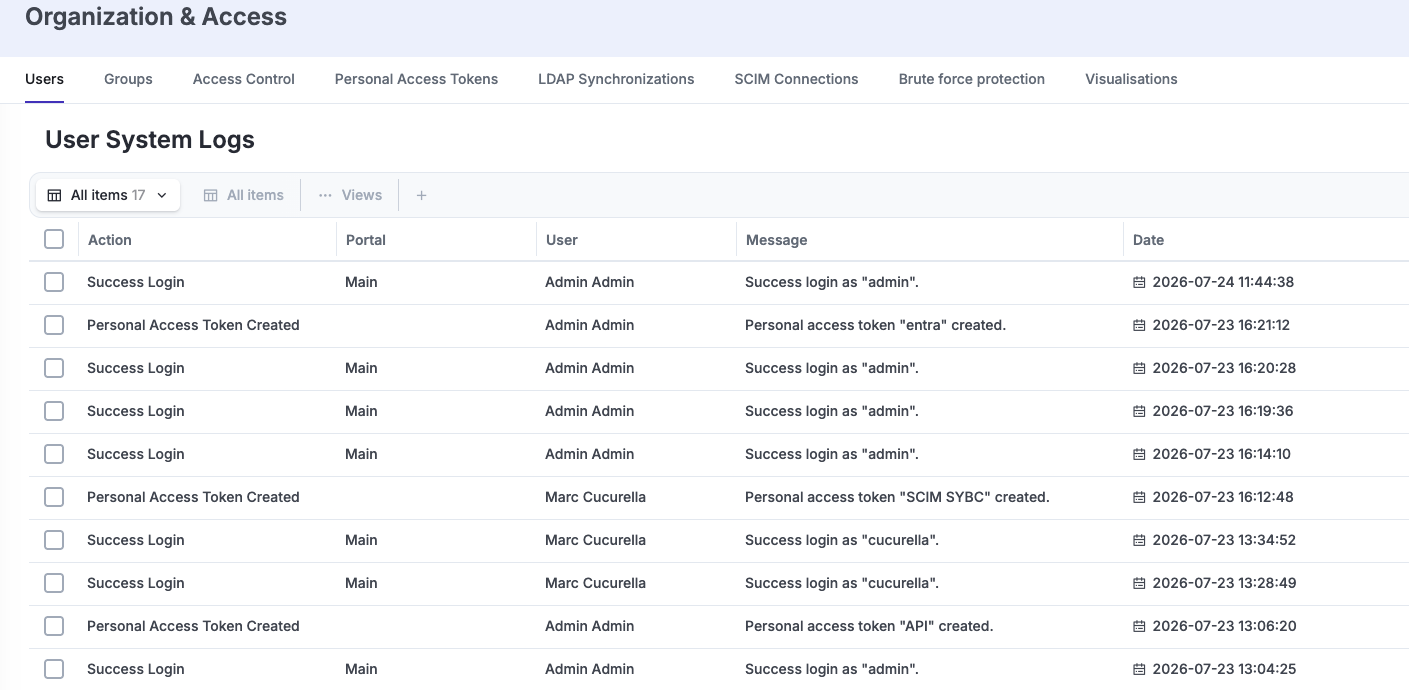
Open Settings > Organization & Access > Users > User Audit Trail. These records cover logins, and token creation. Only local authentication logins are recorded here. For LDAP, SAML, and other authentication methods, inspect authentication.log or the corresponding provider logs.
Core Logs and Diagnostics
Open Settings > System & Maintenance > Logs to access application log files. If the support team requires diagnostic information, they may ask you to use the Send Logs and Diagnostics option.
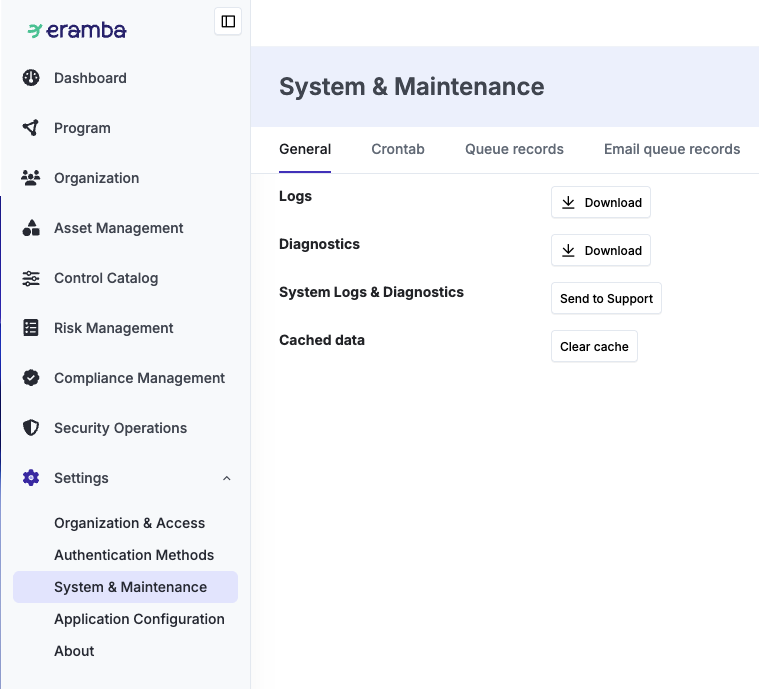
A ZIP archive can also be downloaded from the interface, containing the following log files:
access.log: Nginx style access records, with domain names masked as***.authentication.log: eramba access records, with usernames masked except for the first and last character.authorization.log: actions performed by users.backup_restore.log: backup and restore events.cli-debug.log: command line activity.cli-error.log: command line errors.cron_daily.log: daily cron activity.cron_hourly.log: hourly cron activity.debug.log: low level CakePHP debugging output.diagnostics/config.log: internal application configuration diagnostics.diagnostics/migrations.log: internal migration diagnostics.diagnostics/mysql_general.log: general database diagnostics.diagnostics/mysql_tables.log: database table diagnostics.diagnostics/mysql_variables.log: database variable diagnostics.diagnostics/php_info.log: PHP environment information.diagnostics/system_health.log: eramba system health diagnostics.diagnostics/system_info.log: server and system information.error.log: CakePHP errors.reports.log: report processing and generation events.system_health_status.log: information used to determine whether the system has any health issues.